How to Deploy n8n Without Touching a Server (Beginner Friendly Guide)
Learn how to deploy and self-host n8n in minutes without managing servers, Docker, or DevOps infrastructure.
n8n is one of the most powerful tools for building workflow automations. It allows you to connect apps, automate tasks, and build powerful workflows while keeping full control through self-hosting.
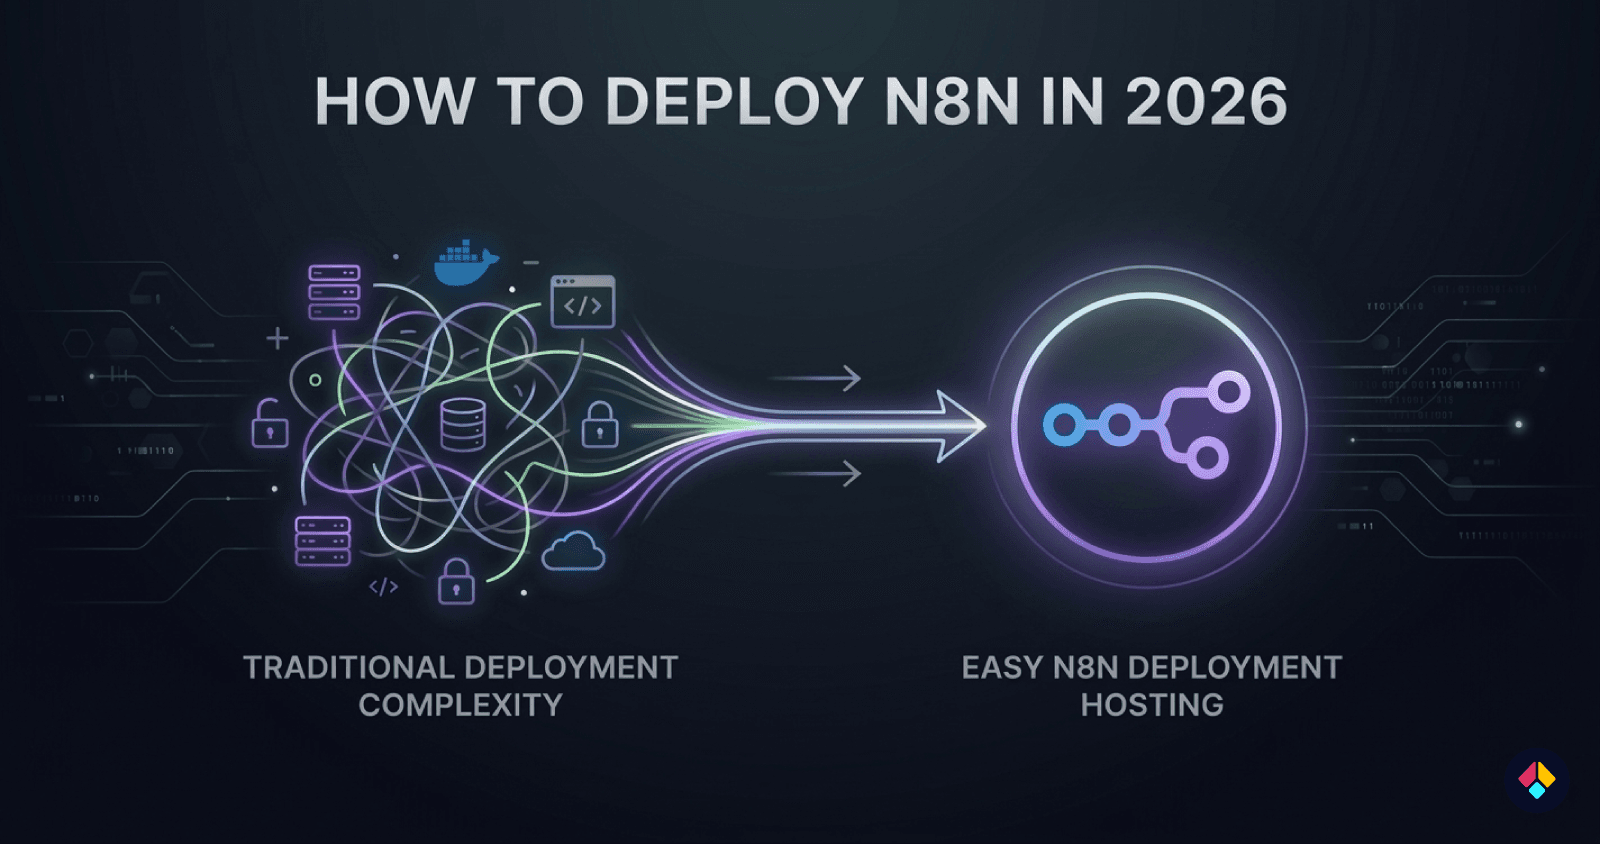
However, deploying n8n can quickly become complicated.
Most guides require you to set up a cloud server, install Docker, configure environment variables, and manage SSL certificates. For many people, especially those who just want to start building automations, this process can be confusing and time-consuming.
In this guide, you'll learn how to deploy n8n in minutes without touching a server or dealing with complex infrastructure setup.
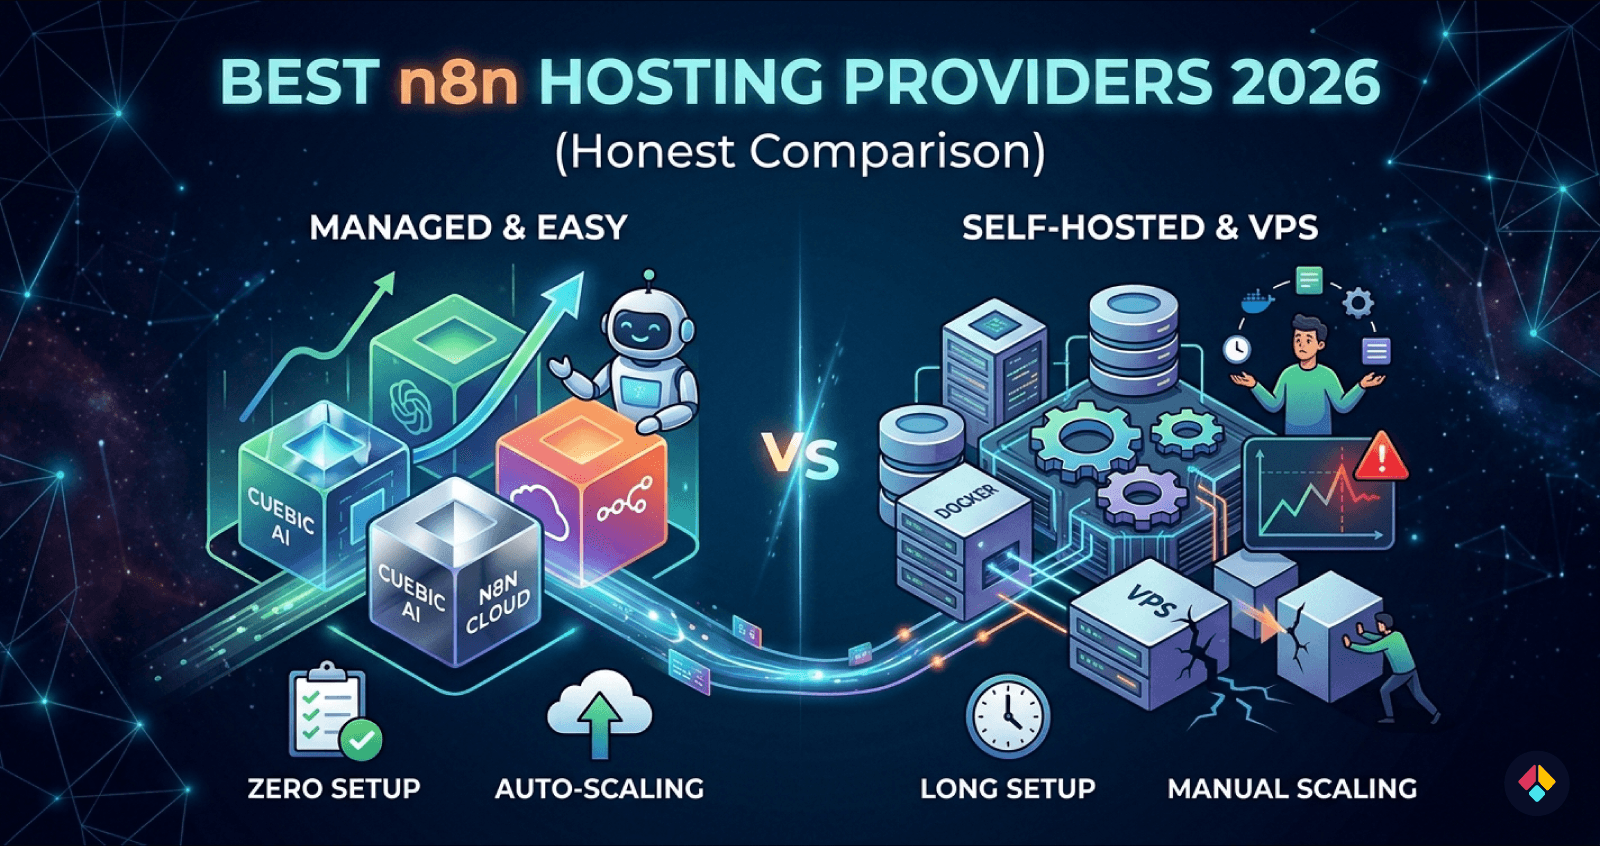
Why Deploying n8n Is Usually Complicated
One of the biggest advantages of n8n is that it can be self-hosted. This gives you full control over your data and infrastructure. However, the setup process is not always simple, especially for people who are not comfortable managing servers.
A typical n8n self-hosting setup usually looks something like this:
Typical n8n self-hosting steps:
Rent a cloud server (VPS) from a provider
Install Docker and required dependencies
Configure a reverse proxy such as Nginx or Traefik
Set up SSL certificates for HTTPS
Deploy the n8n container
Maintain the server, updates, and security
Each of these steps requires some knowledge of server management. Even small mistakes in configuration can cause deployment issues, SSL errors, or security problems.
For many people who simply want to start building automations, this setup process can feel overwhelming. Instead of focusing on workflows, they end up spending time managing infrastructure.
The Easier Way to Deploy n8n
Instead of managing servers and configuring everything manually, there is an easier way to deploy n8n.
Platforms like Cuebic AI handle the infrastructure setup automatically, allowing you to deploy n8n without dealing with server configuration, Docker setup, or SSL management.
The goal is simple: make deploying n8n in production as easy as installing an app.
With Cuebic AI, the platform automatically prepares the infrastructure and deploys a ready-to-use n8n instance for you. Instead of spending hours configuring servers and services, everything is set up in just a few minutes.
When you deploy an instance, you get:
A dedicated cloud instance (not shared containers)
Automatic n8n installation
Queue Mode support with PostgreSQL and Redis workers configured automatically
HTTPS enabled by default
Default domain and custom domain support
Instance controls such as start, stop, and reboot
In other words, the infrastructure that normally requires hours of DevOps work like configuring databases, Redis queues, and worker scaling is handled automatically, so you can focus on building automations instead of managing servers.
Deploy n8n in 5 Minutes (Step-by-Step)
Deploying n8n with Cuebic AI is designed to be simple. Instead of configuring servers and infrastructure manually, the platform handles the entire setup process for you.
Here is what the deployment process looks like.
Step 1 — Choose an Instance
First, select the instance type that fits your workload. Instance sizes are designed for different usage levels, from small automation setups to larger workflows that require more CPU and memory.
Each deployment runs on a dedicated cloud instance, meaning your n8n environment is not shared with other users.
Step 2 — Select a Subdomain
Next, choose a subdomain for your instance.
Cuebic AI automatically assigns a default HTTPS domain, so your n8n instance is accessible immediately after deployment. You can also connect your own custom domain later if you prefer.
Step 3 — Pick a Server Location
Choose the server region where your instance will run.
Selecting a location closer to your users or services can improve performance and reduce latency, especially when your workflows interact with external APIs or services.
Step 4 — Click Deploy
Once everything is selected, simply click Deploy.
The platform automatically handles the full infrastructure setup, including:
Installing Docker
Deploying n8n
Configuring SSL for HTTPS
Setting up basic security and networking
What Gets Configured Automatically
After deployment finishes, your n8n environment is fully ready to use. The platform automatically prepares the infrastructure and configures everything needed to run your instance.
Dedicated cloud VM running your instance
Pre-installed n8n ready to use
Automatic HTTPS with SSL configured
DDoS protection through the network layer
Default domain assigned instantly
Custom domain support if you want to connect your own domain
Dashboard controls to start, stop, or reboot your instance
In just a few minutes, you have a production ready n8n environment without manually configuring the servers.
Who This Is Perfect For
This approach is especially useful for:
Automation builders using n8n
Startup founders who want to run automations quickly
Developers who don't want to manage infrastructure
Non-technical users who want a simple way to run n8n
It removes the DevOps complexity so you can focus on building workflows instead of managing servers.
Self-hosting tools like n8n shouldn’t require hours of server setup or deep DevOps knowledge. Most people just want to run their automations and focus on building workflows.
Platforms like Cuebic AI make this much easier by handling the infrastructure for you. In just a few minutes, you can deploy a production-ready n8n instance without managing servers.
If you want to try it yourself: https://cuebicai.com